Introduction
This section expalins how to issue an 'ID Card' (i.e. Not an ISIC, IYTC or ITIC) with CardMaster.Net.
Please read the section on issuing ISIC, IYTC and ITIC first, and use this guide as a suppliment to that process.
Parts shown in grey are exactly the same as per the ISIC, IYTC and ITIC process.
Getting Started
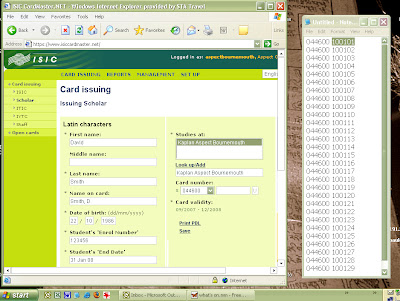
The online issuing programe is called CardMaster.Net. It is accessed using Internet Explorer. Use the provided Login and Password to access the system, as shown below.
Once logged into CardMaster.Net click on Scholar from the left menu. Cardholder details are then entered using this page.
First Name, Surname, Date of Birth & Studies at are mandatory (as signified by a *)
Fill in the Student's 'Enrol Number' and Student's 'End Date' (these are semi-mandatory; you will be reminded to fill them if they are missed).
The Name on Card field is auto-completed by CardMaster.Net, using the First Name & Surname fields. This can be manually changed.
CardMaster.Net requires a 'Card Number' for each card issued.
As the ID cards do not carry these on the card, please use one from the supplied list of numbers. Each number may be used once only. It is recommended that you cut and paste the numbers from the list and save the file (replacing the existing one) after each use, this will ensure your list of numbers always contains (only) usable numbers.
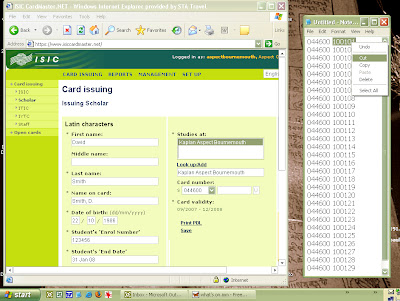
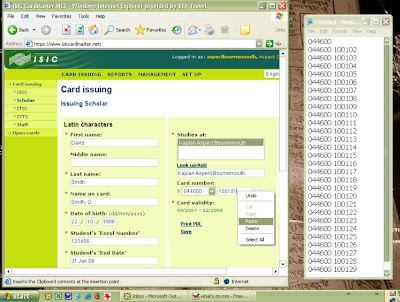
See the screen shots below for an example of doing this.
1 - Arrange the CardMaster.Net and number list (in notepad) windows so both are visible, and can be clicked between easily (or use ALT + TAB to jump between the windows).
2 - Double click the final 6 digits of the next (to be used) number.

3 - Cut the 6 digit number (either right-click for the contect menu, or use CTRL + X on the keyboard)

4 - Paste the number into the field in CardMaster.Net (either right click for the contect menu, or use CTRL + V on keyboard)

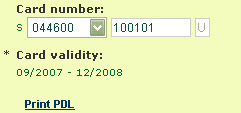
5 - After pasting the number in you must press the TAB key, this will prompt CardMaster.Net to generate the Check-Letter (shown here as a U).
6 - Ignore the Card-Validity dates shown; these will not be printed onto the ID card.

Clicking on Print PDL stores the data and prints the Cardholder details label (a.k.a. PDL). CardMaster.Net auto selects the PDL printer; a normal 'Print dialog window' is not displayed.


