Click any image in this guide to enlarge
1 - Open the printer by squeezing the green buttons (both sides) forwards.
2 - Lower the Print-Ribbon holder from the top section. The red line shows the path the ribbon will take through the holder.
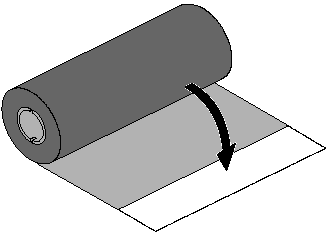
3 - Open the supplied ribbon
4 - Insert the ribbon down through the gap (behind the second set of wheels) in the holder.
If replacing a ribbon, remove the old ribbon and it's roll. Keep the roll as you will use this to 'collect your new ribbon'.
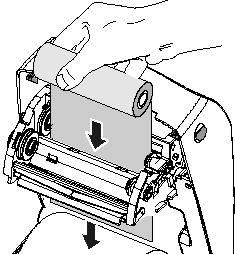
5 - Press the ribbon onto the right-side wheel
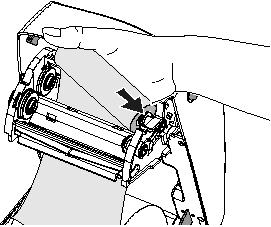
6 - Press the ribbon onto the left-side wheel, aligning the notches.
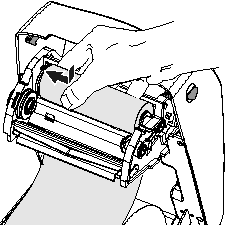
7 - Position the up-take roll onto the front wheels, aligning the notches. If you are replacing a ribbon, use the old roll from the back.
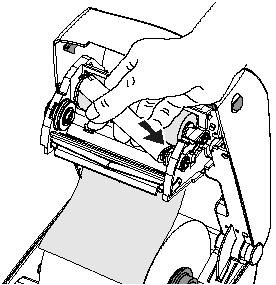
8 -Attach the end of the new ribbon to the uptake-roll with sticky tape
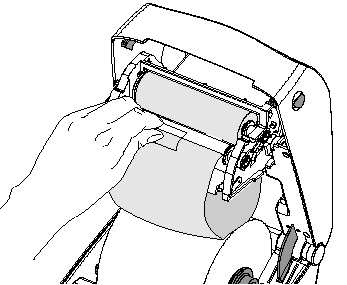
9 - Use the wheels on the left-side to tighten the ribbon so that no slack remains.
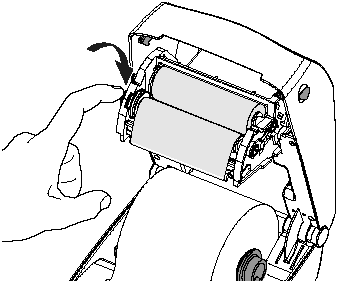
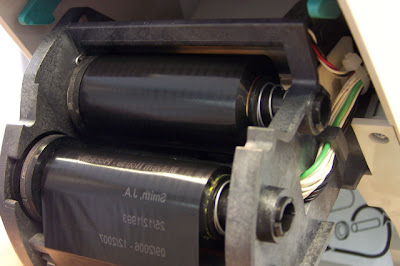
The correctly loaded ribbon will look like this.
